Chapter 2: Getting Started
Defining the Languages
- Return to the System Administration Menu and select
System Administration, thenLanguage Translation. You should see the menu shown in Figure 1.
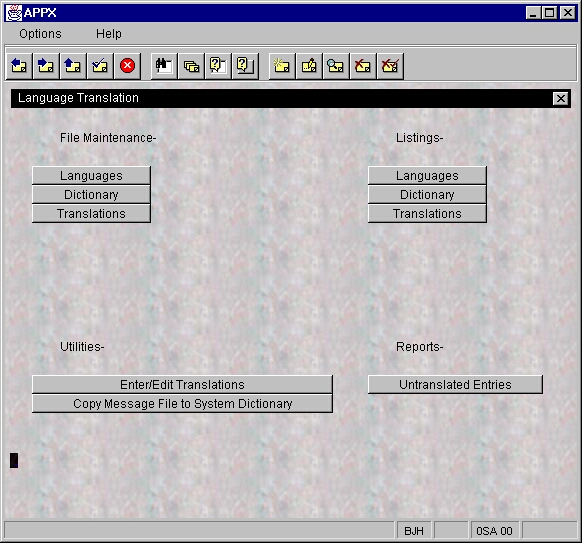
- Under File Maintenance, select
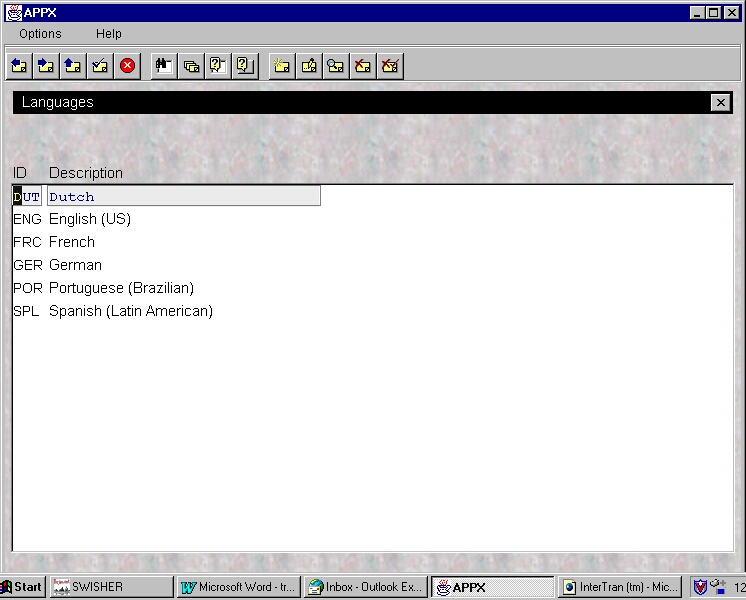
Languages. - Using the Languages Input Process, enter a code and description for the language your APPX applications are designed in. This language will be referred to as the Design Language throughout this document. A list of the languages used in this document is shown in Figure 2.
- Press
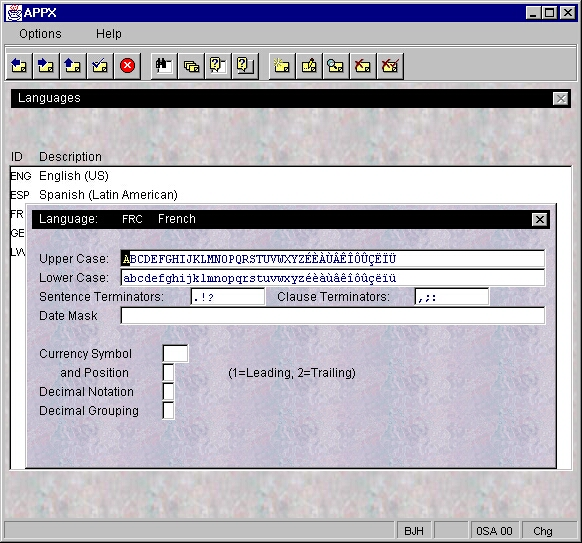
ENTERto display the rest of the Language file fields shown in Figure 3. Note that this example is for French. - Enter the language’s Upper Case letters and corresponding Lower Case letters (A-Z and a-z for English), then punctuation marks used as Sentence Terminators (
.!?for English) and Clause Terminators (,;:for English). The remaining fields (Date Mask, Currency Symbol and Position, and Decimal Notation and Grouping) are optional and are needed only if different from the values defined in the System Administration’s System Parameters file. - Press
ENTERto complete the addition of the Design Language. Repeat the preceeding steps to add additional languages. These other languages are referred to as Presentation Languages throughout this document.
With the Design and Presentation Languages defined, you are ready to begin defining the translations that are common to all applications within the system. Continue with Section 3, The System Translator, for further instructions.