
3File Maintenance
Option 3Sales Areas
This file allows you to set up records for each sales area in your company. Each salesperson in the Salespersons file is assigned to one of these sales areas. You can sort information for Commission Accounting and Sales Analysis reports according to the sales areas established in this file.
When you use this option, a record of all entries will be printed. For additions, all new field contents are printed; for deletions, the deleted record’s contents are shown; for changes, both old field contents and new field contents are shown; and, in all cases, the User ID, date, and time are printed.
Select “Sales Areas” from the File Maintenance menu. Here is the Sales Areas entry screen:
Sales Areas File Maintenence screen
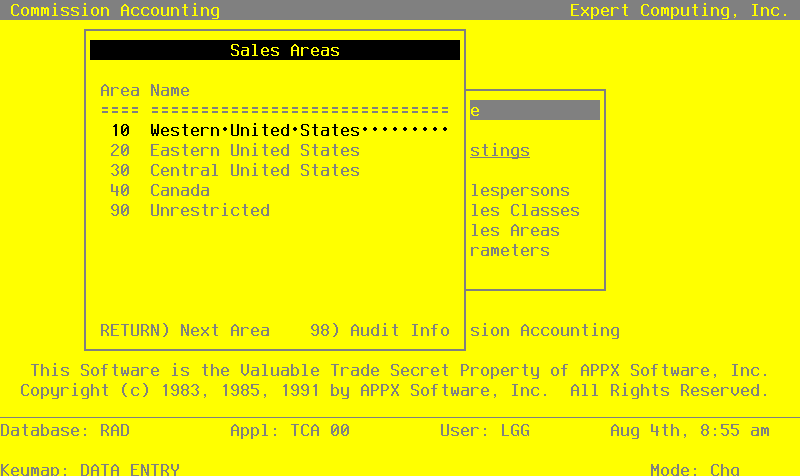
When the key value for a particular record is requested, you can review all the records in the file by selecting the Scan option. The records will be presented on an “Access” screen, and you will be allowed to scan the available data until you find the record you want. Then, position the cursor by that record and press RETURN; the record will be displayed for editing.
Data items for the preceding screen are described below:
- Sales Area
Enter up to two digits to identify this sales area.
- Name
Enter up to 24 characters for the name of this sales area.
Press RETURN to save the information on this screen.
Select the Next Record option to go to the next Sales Areas record.
At this screen, the use of the MODE keys—ADD, DEL, CHG, or INQ—pertain to those records in the Sales Areas file.