Difference: APPX500LinuxUpgradeInstallation (4 vs. 5)
Revision 52009-11-10 - JeanNeron
| Line: 1 to 1 | ||||||||
|---|---|---|---|---|---|---|---|---|
APPX Linux/Unix - APPX 5 Upgrade Instructions | ||||||||
| Changed: | ||||||||
| < < | This page provides the information needed to upgrade an existing APPX Linux/Unix installation to APPX 5. | |||||||
| > > | This page provides the information needed to upgrade an existing APPX 4.2.a Linux/Unix installation to APPX 5. | |||||||
Overview | ||||||||
| Line: 22 to 22 | ||||||||
Preliminary Tasks
| ||||||||
| Changed: | ||||||||
| < < |
| |||||||
| > > |
| |||||||
| ||||||||
| Line: 70 to 70 | ||||||||
Character Mode Installation | ||||||||
| Added: | ||||||||
| > > | If you don't have access to a GUI (on either Windows or Linux/Unix), you can run the this installer in character mode by appending "-c" to the command line. After a few moments, the Appx Setup Wizard should display the Welcome message. Press Enter to continue the installation.
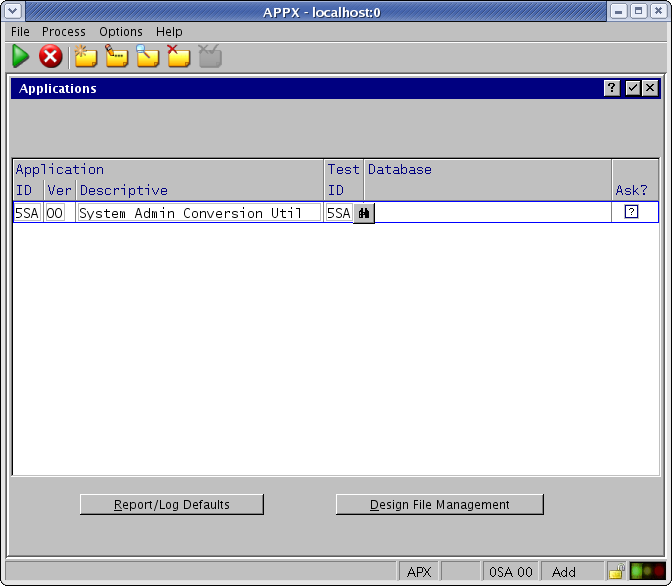
# ./Appx4to5upgrade_linux.sh -cUnpacking JRE ... Preparing JRE ... Starting Installer ... This will install Appx 4.2 to 5.0 Upgrade Application on your computer. OK [o, Enter], Cancel [c] Next, the installation and conversion instructions will be displayed. Press Enter when you are ready to continue. Installation Instructions This conversion utility is an Appx application that will read your existing 4.2 System Administration files and write new 5.0 System Administration files into a work directory. Once Appx 5.0 is installed you can copy the System Administration files from this work directory into place as your live System Administration files. Here are the steps involved in installing and using this utility 1. Install conversion application into your current appx installation path. 2. Add application 5SA version 00 in System Administration - Applications. 3. Add database 5SA connected to Application 5SA 00 in System Administration - Databases. 4. Process the Data Dictionary for application 5SA 00. 5. Create data files for Database 5SA, application 5SA. 6. Run application 5SA, database 5SA and follow the on screen instructions. Choose the location for the installation. Where should Appx 4.2 to 5.0 Upgrade Application be installed? [/usr/local/appx/] The files will then be copied to your hard disk. When this is finished, you are ready to continue with 'Configure the Upgrade Application' | |||||||
Configure the Upgrade ApplicationAfter installing the Upgrade Application, you must run APPX as an APPX System Administrator and configure the Upgrade Application. | ||||||||
| Line: 78 to 97 | ||||||||
 | ||||||||
| Added: | ||||||||
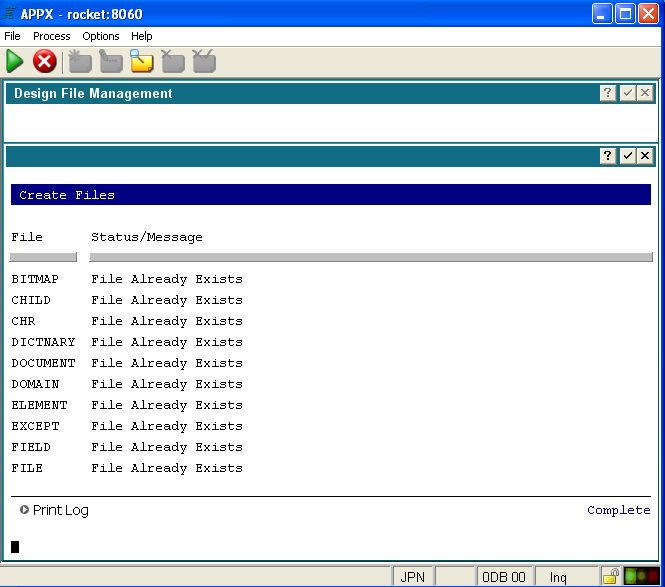
| > > | Create the Design Files for Application 5SA. APPX should report "File Already Exists" for each file. If not, the application was not installed in the correct location. Repeat the installation steps above, specifing the correct location
 | |||||||
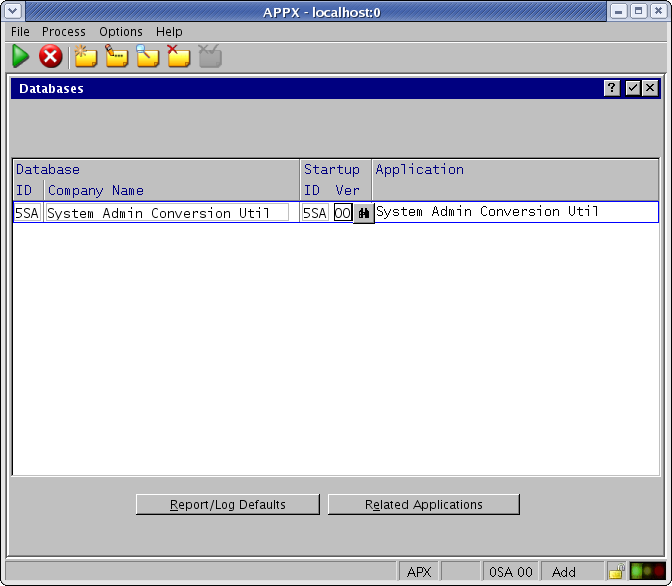
Add the database (5SA) for the Upgrade Application to the Databases file.
 | ||||||||
| Line: 198 to 221 | ||||||||
| ||||||||
| Added: | ||||||||
| > > |
| |||||||
Comments: | ||||||||
| Line: 209 to 234 | ||||||||
| -- SteveFrizzell - 2 Nov 2009 | ||||||||
| Deleted: | ||||||||
| < < |
| |||||||
| ||||||||
View topic | History: r23 < r22 < r21 < r20 | More topic actions...
Ideas, requests, problems regarding TWiki? Send feedback