APPX 6.1.0 (and greater) - Linux/Unix - New Installation
Overview
Two different methods are provided to install APPX on Linux/Unix. There is a GUI installer and a Console Mode (character mode) installer. The same installer is used for both methods. The installer will automatically detect if it is being run as a command or from a GUI Desktop, although in some cases you may have to add "-c" to the command line to force the character installer. Regardless of which installation method is used, the result is the same. A typical APPX installation on a system where APPX has not been previously installed performs the following steps:- Creates an O/S user named "appx" and a group named "appxgrp".
- Creates the destination directory and installs APPX into it.
- Sets the appropriate permissions
- Runs APPX to allow you to complete the configuration
- Add APPX System Administrators to the APPX user file
- Configure and start the APPX Login Manager service
- Configure and start the APPX Audit Manager service
- Install the license key
Special Note for AIX
If you are installing APPX on AIX, you will probably have to raise the data segment size via the 'ulimit' command. The symptom is that your APPX sessions crash with no warning, especially in processes that use tables. To increase the limit:bash-4.3# ulimit -d unlimited bash-4.3# ulimit -a core file size (blocks, -c) 1048575 data seg size (kbytes, -d) unlimited file size (blocks, -f) unlimited max memory size (kbytes, -m) 32768 open files (-n) 2000 pipe size (512 bytes, -p) 64 stack size (kbytes, -s) 32768 cpu time (seconds, -t) unlimited max user processes (-u) 262144 virtual memory (kbytes, -v) unlimitedYou can set this limit in the /etc/security/limits file so that it is set on every reboot. If you set it manually, you must restart the login service from the same shell so that it will inherit the new setting:
bash-4.3# stopsrc -s appx-8600
0513-044 The appx-8600 Subsystem was requested to stop.
bash-4.3# startsrc -s appx-8600
0513-059 The appx-8600 Subsystem has been started. Subsystem PID is 315394.
GUI Installation on Linux/Unix
Log in to your system as the "root" user. Download the APPX/Linux GUI installer from the APPX web site and save it to your Desktop or to any other suitable folder. The following instructions will refer to the appxsetup-linux-64.sh file, which is the name of the 64 bit Linux installer. The installers for other operating systems have similar names, ie, appxsetup-aix.sh for AIX, appxsetup-sun.sh for Solaris, and so on. Open a Terminal window and run the installer file: [root@centos7]# sh appxsetup-linux-64.shUnpacking JRE ...
Preparing JRE ...
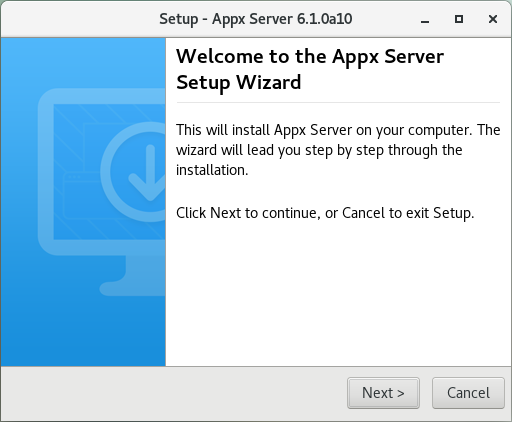
Starting Installer ... After a few moments, the APPX Setup Wizard should display the Welcome screen. Click on the "Next" button to continue.
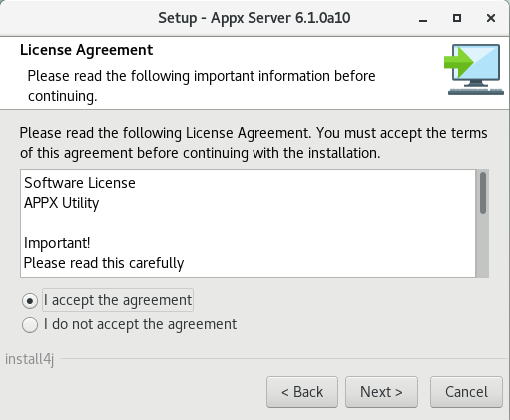
 Read and accept the license agreement.
 Specify the Destination Directory into which APPX is to be installed. As a matter of convention, APPX is usually installed into /usr/local/appx but may be installed into the directory of your choice.
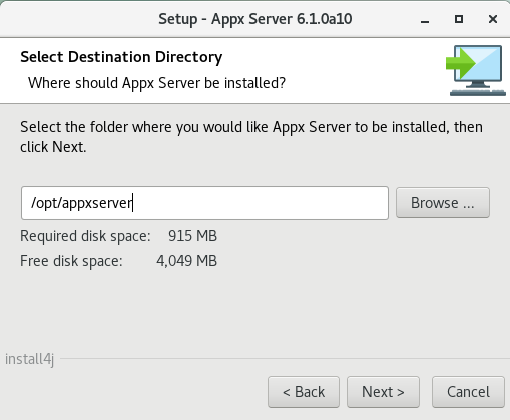 You will be warned if the destination directory already exists. Otherwise, the APPX Setup Wizard will create it.
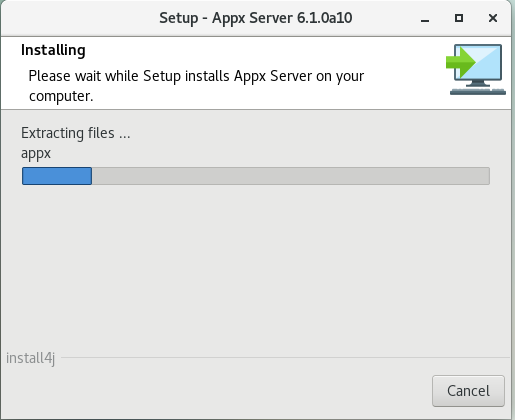
APPX will then be installed into the specified destination directory.
 When all files have been copied, a message instructing you to run APPX to complete the installation will appear.
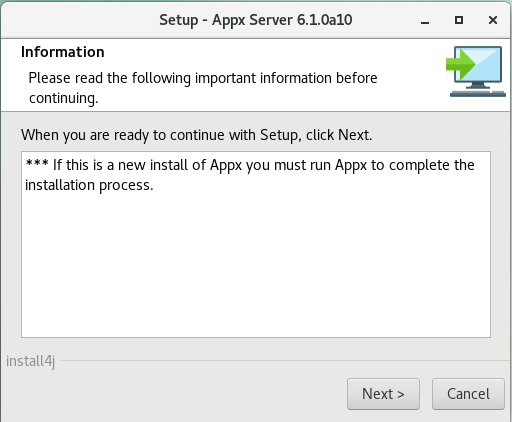 When the APPX Setup Wizard displays the final screen, click on the Finish button to end the APPX Setup Wizard and to automatically run APPX to complete the configuration and installation of APPX.
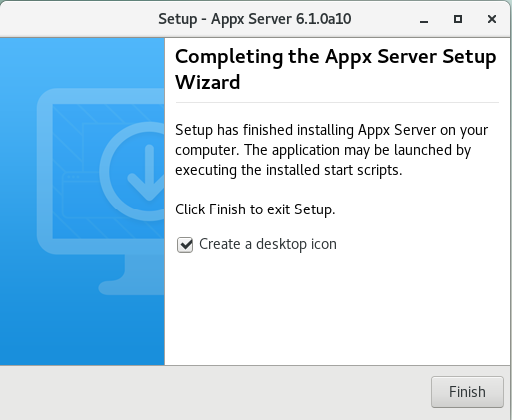 See 'Completeing the Installation' below to complete the installation
#CharInstaller
Character Mode Installation
If you don't have access to a GUI, you can run the Appx installer in character mode by appending "-c" to the command line. After a few moments, the Appx Setup Wizard should display the Welcome message. Press Enter to continue the installation.
# ./appxsetup.sh -c
Unpacking JRE ...
Preparing JRE ...
Starting Installer ...
This will install Appx on your computer.
OK [o, Enter], Cancel [c]
Next, read and accept the License agreement. Press Enter as each page is displayed. Please read the following License Agreement. You must accept the terms of this agreement before continuing with the installation. Software License APPX Utility - Release 6.0.0 _ Important! _ Please read this carefully before you click on the Accept button. Definitions: "Software License Agreement (SLA)" shall mean this Software License document and the associated *License Key document collectively. [Enter] After the agreement has been displayed, enter 1 to accept the license agreement, or 2 to cancel the installation. .
.
.
For inquires regarding this agreement, please contact: APPX Software, Inc., 11363 San Jose Blvd., Suite 301, Jacksonville, Florida 32223, USA I accept the agreement Yes [1], No [2]
Choose the directory where APPX should be installed and the other installation options. Where should Appx be installed? [/opt/appxserver] Create a desktop icon? Yes [y, Enter], No [n] Create a Quick Launch icon? Yes [y, Enter], No [n]
Set the ICU Locale
A locale identifies a specific user community - a group of users who have similar culture and language expectations for human-computer interaction (and the kinds of data they process). A community is usually understood as the intersection of all users speaking the same language and living in the same country. Furthermore, a community can use more specific conventions. For example, an English/United States/Military locale is separate from the regular English/United States locale since the US military writes times and dates differently than most of the civilian community. APPX needs to know your Locale. If not specified, it will default to en_US.UTF8. To change the locale, use a text editor to modify the 'appx.env' file, and add: LANG=<desired locale> The 'appx.env' file is located in the 'data' folder of your installation folder. For example, if APPX was installed in /opt/appxserver, then 'appx.env' is located at '/opt/appxserver/appx.env'. Note that changing locale requires you to rebuild all key files for both design files and data files. See http://userguide.icu-project.org/locale for more information on Locales.Completing the Installation
You will have to manually start the APPX Login Manager Service before you can complete the installation. Enter the following commands (make sure you adjust the path names as required): [root@centos7 appx]# cd services[root@centos7 services]# ./appxLoginMgr -install -name=appx600 -port=8060 -engine=/opt/appxserver/appx APPXPATH=/opt/appxserver/data
Warning - the engine that you named has the setuid bit enabled,
you may not want that bit set for the authentication
method that you have chosen (OS-User)
To turn off the setuid bit, chmod u-s /opt/appxserver/appx
Configuration written to: appx8060.ini
Environment written to: appx8060.env
Service script written to: /etc/init.d/appx600
Configuration complete
Registering service
Starting appx600 (via systemctl): [ OK ]
Warning - the engine that you named has the setuid bit enabled,
you may not want that bit set for the authentication
method that you have chosen (OS-User)
To turn off the setuid bit, chmod u-s /opt/appxserver/appx
up and running (process 12882 servicing port 8060)
Installation Complete This will start a Login Manager service on port 8060. Install the APPX Desktop Client on another workstation, and use the Remote tab to log on to this server, then complete the installation by completing the configuration. Note that as part of completing the installation, you will be asked to install the Login Manager again. You can use the same port number again, it will not affect the installation process. When you have completed the configuration, return to the Installation page and continue with installing the APPX Desktop Client.
Comments:
Read what other users have said about this page or add your own comments.--
Ideas, requests, problems regarding TWiki? Send feedback

