Mapping Files & Fields
This page describes how to map incoming data to Appx files/Fields.Overview:
In order to map the incoming data to Appx files and fields, you need a sample of the import file to work with. This should be uploaded using 'Define File/Field Map from Source File'. Once your map is defined and saved, you can maintain it afterwards by using 'Define File/Field Map'.Usage
Start by running 'Define File/Field Map from Source File', you should see the following display: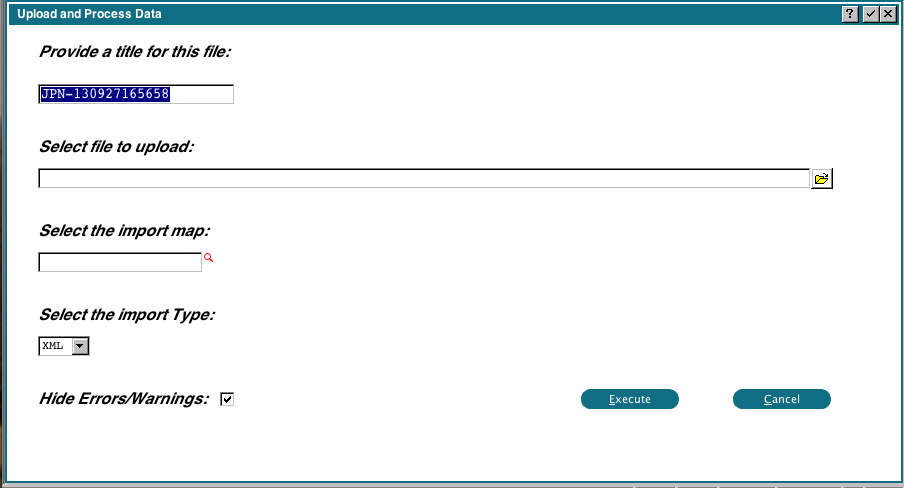 The title will default to your user initials, plus the current date/time. You can change this if you wish. You can drag and drop the PROSPECT.XML file from your desktop, or use the file chooser. Leave the import map blank. Currently 0DX only supports XML, you cannot change that. The 'Hide Errors/Warnings' flag normally suppresses any problems with the source file. If you are having problems importing a file, you can uncheck this flag to see if there are any formatting problems with the incoming data.
Once you click 'Execute' the tags and data will be extracted from the PROSPECT.XML file, and you will be able to refer to them as you create your mapping. When this is complete, you will see the following display:
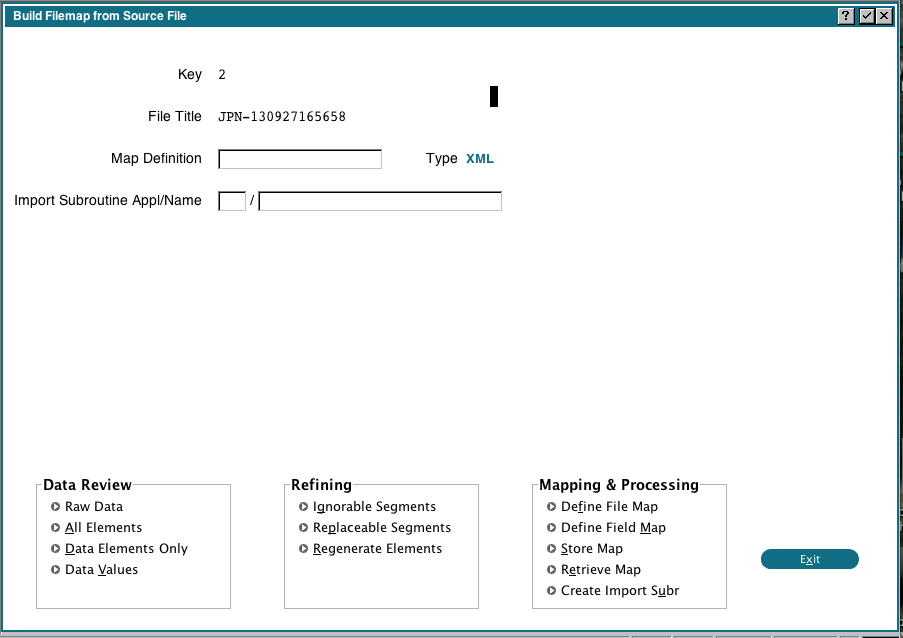 At this point, all the elements and data have been extracted and are stored in some internal files in the 0DX application. We can use those to help us map the files and fields.
Let's start by examining the elements and data, click the 'All Elements' button under 'Data Review'. You should see the following display:
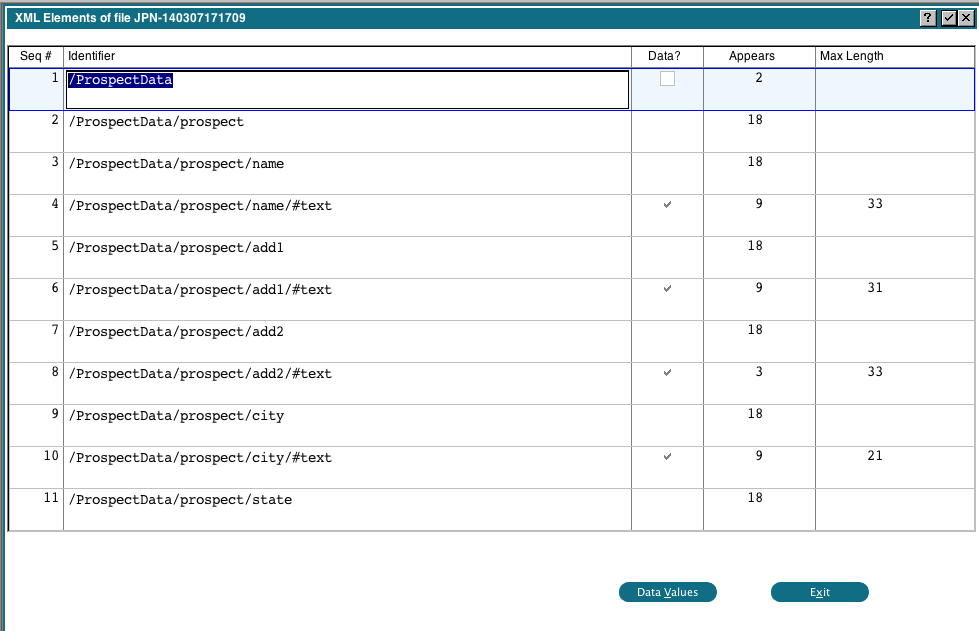 This shows us the identifiers found, whether they contain data or not, how many times each one appears and the maximum length of the data for that identifier. We can click the 'Data Values' button and we will see the actual data associated with that identifier. Notice that 'ProspectData' is the top level identifier and is prefixed on all identifiers. We can use a feature of the mapping routine to simplify our identifier strings by removing it. Click 'Exit' to return to the previous display, then click 'Ignorable Segments' under 'Refining'. You will get the following popup:
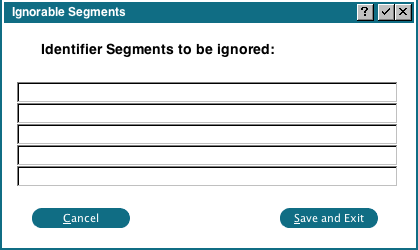 Enter 'ProspectData' in the first field, then click 'Save and Exit'. Under 'Refining', click 'Regenerate Elements'. Appx will then reprocess the file, applying the new rule. When this is done, click 'All Elements' under 'Data Review'. You should now see:
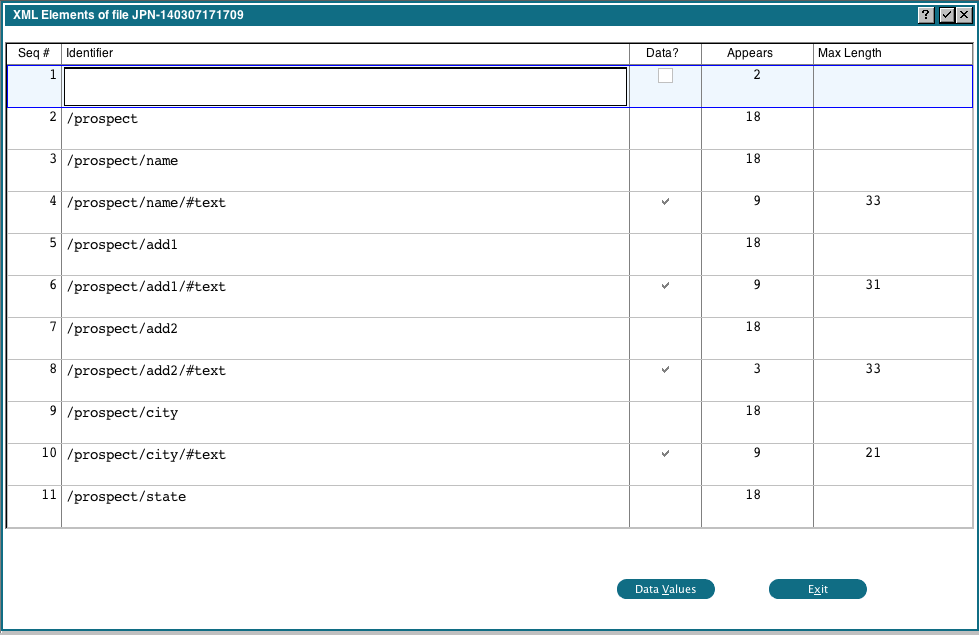 Notice that the leading 'ProspectData' has been removed from all identifiers. Click 'Exit' to return to the previous display.
We can now begin mapping the files and fields. Click the 'Define File Map' button under 'Mapping & Processing'. You should see the following display:
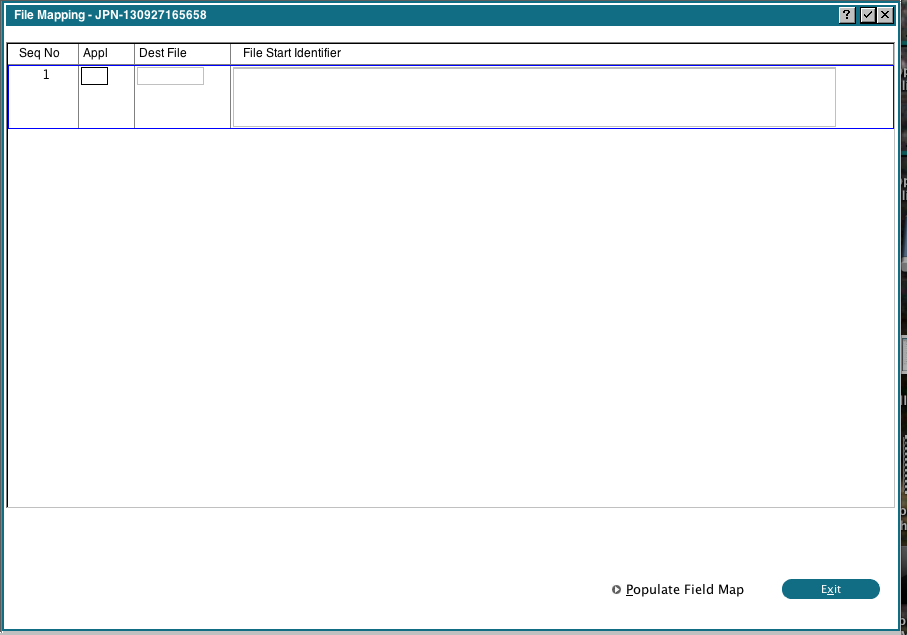 This is where we tell 0DX which identifier indicates the beginning of a new record. We have 2 records in our XML file, Prospects and Contacts. For the first line, enter Application DMO, Dest File PROSPECT and then use the Scan key in the File Start Identifier field to select '/prospect' from the list. Repeat this process for the DMO CONTACT file, choosing '/prospect/contact' for the identifier. When you're done, the display should look like:
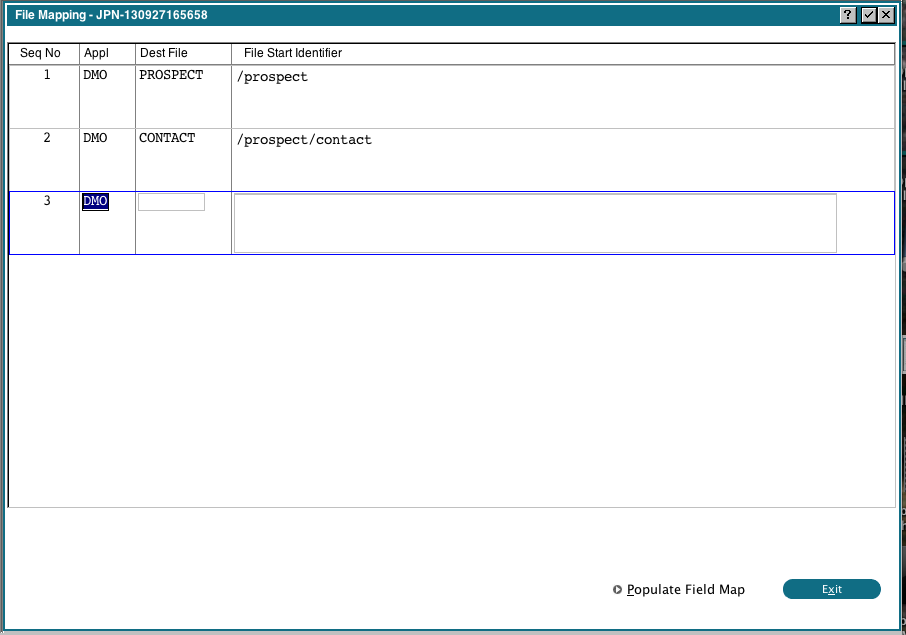 Switch to Change or Inquire mode, then click the 'Populate Field Map' button. This will populate the field mapping with all the fields in all the files shown on the screen.
Now we are ready to map our fields. Click 'Exit' to return to the previous display, then click 'Field Map'. You should see the following display:
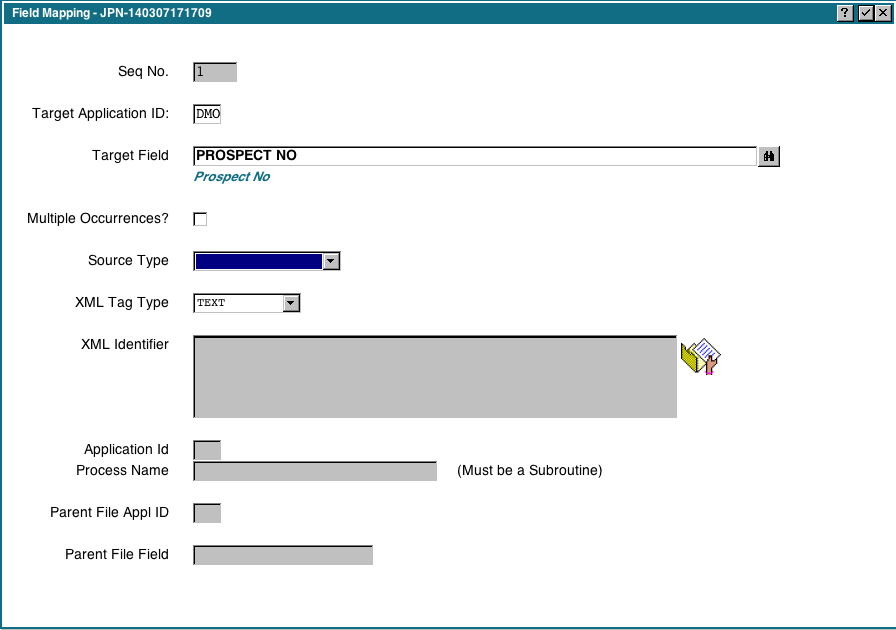 This is where we define how each Appx field should be populated. The list of fields for the PROSPECT and CONTACT files is already populated for us because we clicked 'Populate Field Map' in the previous step. If we did not do that, we would have to manually add each field we are importing.
For each field in PROSPECT and CONTACT, we will choose the appropriate 'Source Type'. Not all fields are being populated from our source file, so for some fields, we leave the 'Source Type' blank. In this case, they will be assigned the default values as per the Data Dictionary.
The valid source types are:
- XML Data Field. When we choose this type, the XML Identifier, Application Id and Proces Name fields will become available for input. We can Scan on the XML Identifier field to choose an identifier that exists in the current XML file. The Application Id and Process Name allow us to specify a subroutine that we want to run when this field is imported (optional). The subroutine will be invoked DETACHED and will be passed 2 fields. You should RECEIVE 2 fields, the first field is the data extracted from the XML file and the second field is the XML identifier. You can change the first field, and the resulting data will be written to the Appx file.
- Parent APPX File. We use this when we want the Appx field to be filled in from another (Parent) Appx File. For example, when importing the Contacts, we want the CONTACT PROSPECT NO field to be filled in from PROSPECT NO. When we choose this type, the Application Id, Parent File Id and Parent File Field fields will become available for input.
- Sequence Number. Use this to automatically assign a sequential sequence number to the Appx field. Note that the sequence number starts at zero every time you run the import step, so normally you would not use this to generate unique keys in an existing Appx file that uses a sequence number key. However, in this example we will do that just to illustrate using the sequence number type.
- Date/Time Stamp. The current date/time will be set in the field.
| Appx Field Namd | Source Type | Identifier or Parent App/File | Notes |
| PROSPECT NO | Sequence Number | ||
| PROSPECT COMPANY NAME | XML Data Field | /prospect/name | |
| PROSPECT ADDRESS 1 | XML Data Field | /prospect/add1 | |
| PROSPECT ADDRESS 2 | XML Data Field | /prospect/add2 | |
| PROSPECT CITY | XML Data Field | /prospect/city | |
| PROSPECT REGION | XML Data Field | /prospect/state | |
| PROSPECT POSTAL CODE | XML Data Field | /prospect/postal | |
| PROSPECT TELEPHONE | XML Data Field | /prospect/phone | |
| PROSPECT DATE ADDED | Date/Time Stamp | ||
| PROSPECT ADDED BY | XML Data Field | /prospect/phone | We will use a subroutine to fill this field |
| PROSPECT DATE CHANGED | Date/Time Stamp | ||
| PROSPECT CHANGED BY | XML Data Field | /prospect/phone | We will use a subroutine to fill this field |
| CONTACT PROSPECT NO | Parent Appx File | DMO/PROSPECT NO | |
| CONTACT LAST NAME | XML Data Field | /prospect/contact/lastname | |
| CONTACT FIRST NAME | XML Data Field | /prospect/contact/firstname | |
| CONTACT TITLE | XML Data Field | /prospect/contact/title | |
| CONTACT POSITION | XML Data Field | /prospect/contact/position | |
      RECEIVE  --- TEMP 80                    FIELD              FAIL N
      RECEIVE  --- TEMP 79                    FIELD              FAIL N
      SET      --- TEMP 80                    =  --- USER ID
The first field received is the data extracted from the XML file, a phone number in this example. The second field is the XML Identifier. Since we are only running this subroutine to set the ADDED BY/CHANGED BY field, we do not need to test the XML Identifier or care about the incoming phone number. We can simply change the phone number to the current user id. When setting the PROSPECT ADDED BY / PROSPECT CHANGED BY fields, fill in the Application Id and Process Name of this subroutine. Another situation where you might need to use this technique would be to reformat incoming date/time fields.
Once you have filled in the data for all the fields, exit back to the main screen. We are now ready to save our definition, click the 'Store Map' button and you will be prompted for a name:
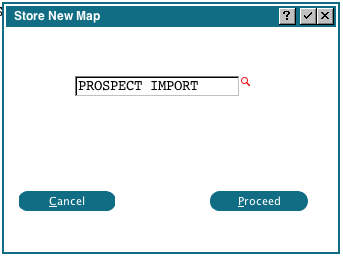 Fill in a name for this mapping and click 'Proceed'. The mapping will be saved.
Finally, we need to create the subroutine that does the work of importing the XML data into our Appx files. Click the 'Create Import Subr' button and you will be prompted for an Application Id and Process Name:
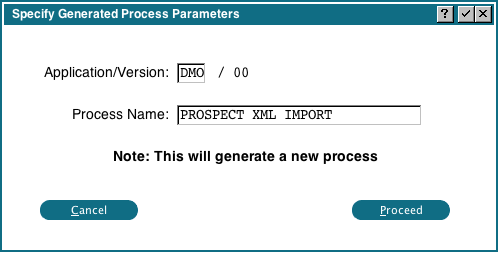 Fill in any Application and Process Name you want. When you click 'Proceed', the subroutine will be written and compiled. If any errors occur during the compile, you can view the subroutine in Application Design. You can also further customize the subroutine, however, you will lose those changes if you 'Create Import Subr' again.
Our mapping is now complete, press 'Exit' to return to the main menu.
Comments:
Read what other users have said about this page or add your own comments.-- JeanNeron - 2013-09-27
Ideas, requests, problems regarding TWiki? Send feedback

