Difference: APPX500WindowsUpgradeInstallationEs (2 vs. 3)
Revision 32010-01-30 - RayPelegrino
| Line: 1 to 1 | ||||||||
|---|---|---|---|---|---|---|---|---|
APPX Windows- APPX 5 Upgrade Instructions | ||||||||
| Line: 128 to 128 | ||||||||
| COPY C:\Appx\data\5SA\5SA\Data\ C:\Appx\data\0SA\Data* | ||||||||
| Changed: | ||||||||
| < < | You should also remove the System Administration structure files. You can use a delete command similar to the example below to remove your System Administration structure files. Be sure to edit the command to reference the directory where APPX is installed on your system if APPX is not installed in "C:\Appx". | |||||||
| > > | Hay tambien que remover los archivos de System Administration. Usted puede usar un comando delete semejante al ejemplo abajo para remover sus archivos de estructura en System Administration. Hay que editar el comando para referenciar el directorio donde APPX esta instalado en su sistema si no esta en "C:\Appx". | |||||||
| DEL C:\Appx\data\0SA\Struct\* | ||||||||
| Changed: | ||||||||
| < < | You are now ready to install Release 5 on top of your existing installation. Before installing APPX you should:
| |||||||
| > > | Ahora usted esta listo para instalar la version 5 en cima de su instalacion existente. Antes de instalar APPX usted necesita:
| |||||||
Then follow these steps:
OverviewTwo different methods are provided to install APPX on Windows. There is a GUI installer and a Console Mode (character mode) installer. Most sites will use the GUI Installer, the character mode installer is intended for sites using Windows Core Server (Windows without a GUI). The same installer is used for both methods. The installer will automatically detect if it is being run as a command or from a GUI Desktop, although in some cases you may have to add "-c" to the command line to force the character installer. Regardless of which installation method is used, the result is the same. A typical APPX installation on a system where APPX has not been previously installed performs the following steps:
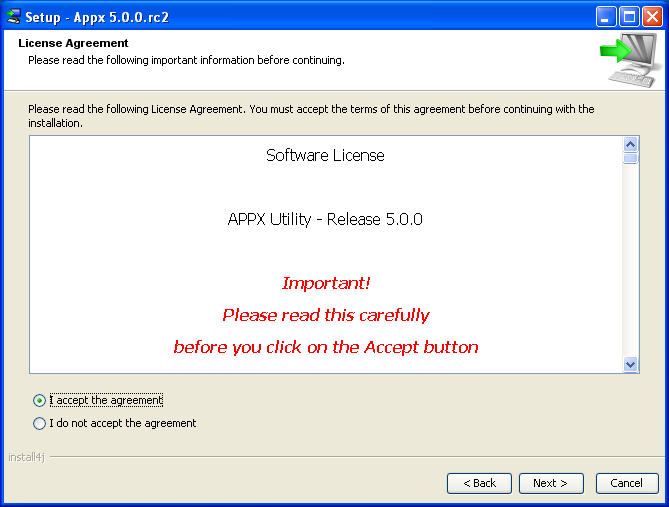
GUI Installation on WindowsLog in to your system as an administrative user. Download and run the APPX GUI installer (appxsetup-windows.exe) from the APPX web site or the APPX ftp server. After a few moments, the APPX Setup Wizard should display the Welcome screen. Click on the "Next" button to continue. If you are presented with a Security Warning dialog, click on the "Run" button to continue with the installation.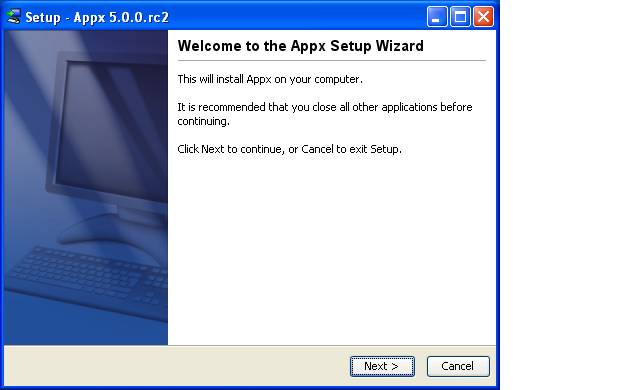 Read and accept the license agreement.
 Specify the Destination Directory into which APPX is to be installed. As a matter of convention, APPX is usually installed into C:\appx but may be installed into the drive and directory of your choice, but do not choose a directory with spaces in the name.
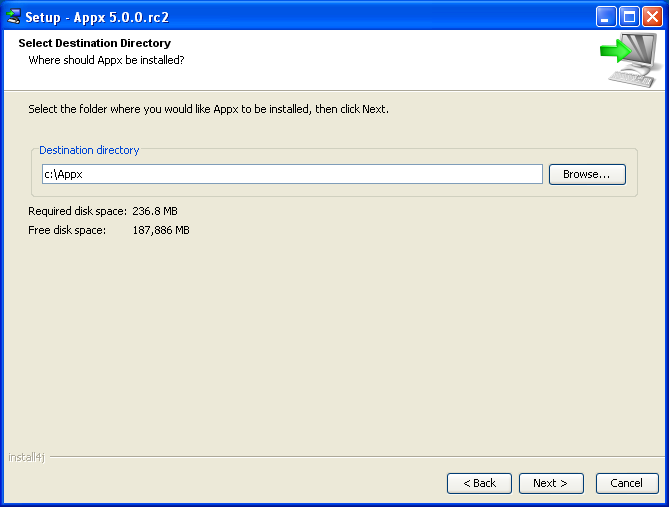 You will be warned if the destination directory already exists. Otherwise, the APPX Setup Wizard will create it.
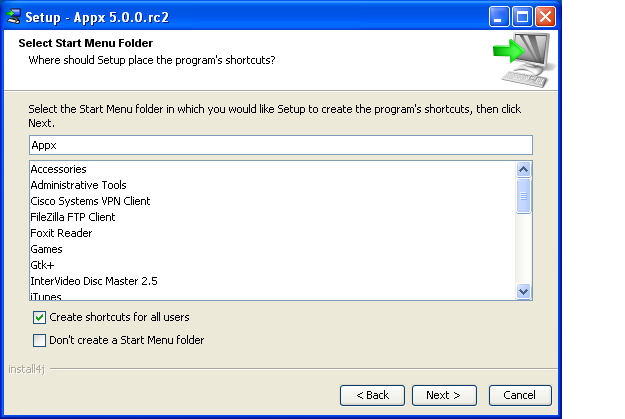
The APPX Setup Wizard can optionally create a Start Menu. You must specify the appropriate options. If you don't know what to specify on this screen, simply accept the recommended options by clicking on the "Next" button to proceed with the installation.
You will be warned if the destination directory already exists. Otherwise, the APPX Setup Wizard will create it.
The APPX Setup Wizard can optionally create a Start Menu. You must specify the appropriate options. If you don't know what to specify on this screen, simply accept the recommended options by clicking on the "Next" button to proceed with the installation.
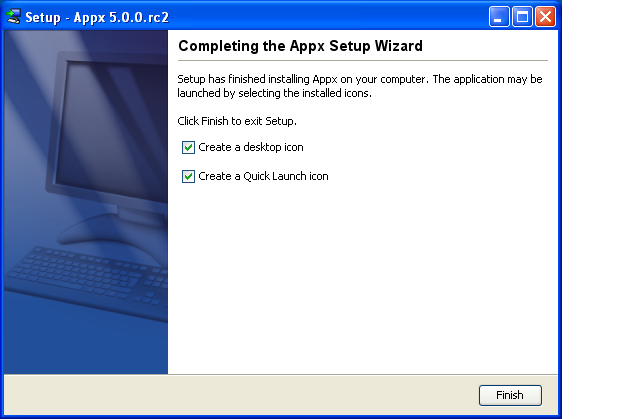
APPX will then be installed into the specified destination directory. 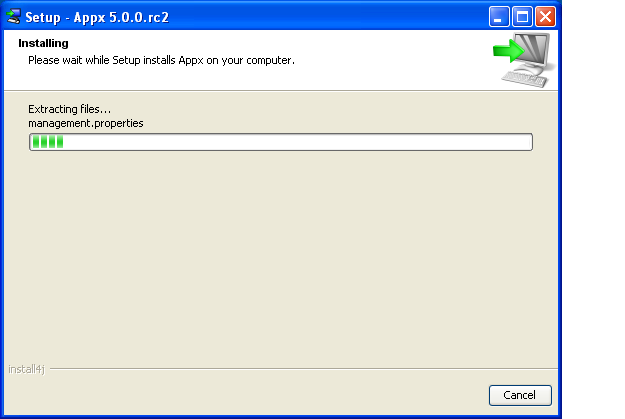 Finally, you may specify whether or not you want the APPX Setup Wizard to create a shortcut on your desktop and/or a quick launch icon on the taskbar. After specifying the appropriate options, click on the "Finish" button to end the APPX Setup Wizard.
Character Mode InstallationIf you are running Windows Core Server, you can run the Appx installer in character mode by appending "-c" to the command line. After a few moments, the Appx Setup Wizard should display the Welcome message. Press Enter to continue the installation.
C:\Appx>setup.exe -c
Unpacking JRE ... Preparing JRE ... Starting Installer ... This will install Appx on your computer. OK [o, Enter], Cancel [c]
Next, read and accept the License agreement. Press Enter as each page is displayed. Please read the following License Agreement. You must accept the terms of this agreement before continuing with the installation. Software License APPX Utility - Release 5.0.0 _ Important! _ Please read this carefully before you click on the Accept button. Definitions: "Software License Agreement (SLA)" shall mean this Software License document and the associated *License Key document collectively. [Enter] After the agreement has been displayed, enter 1 to accept the license agreement, or 2 to cancel the installation. . . . For inquires regarding this agreement, please contact: APPX Software, Inc., 11363 San Jose Blvd., Suite 301, Jacksonville, Florida 32223, USA I accept the agreement Yes [1], No [2] Choose the directory where APPX should be installed and the other installation options. Where should Appx be installed? [C:\APPX] Create a desktop icon? Yes [y, Enter], No [n] Create a Quick Launch icon? Yes [y, Enter], No [n] Install a new APPX 5.0.0 License Key | ||||||||
| Changed: | ||||||||
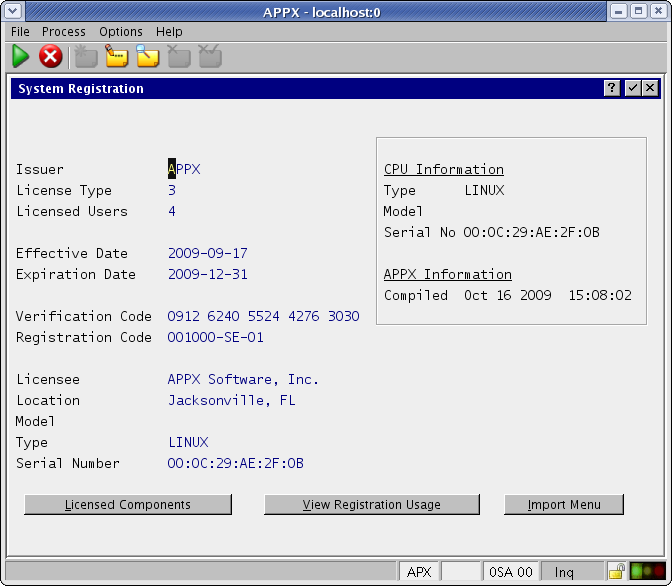
| < < | Double click the C:\Appx\AppxDesktopClient.exe file to start the Appx Desktop Client. Click on the 'Local' tab, enter the location of the APPX engine (the appx.exe file) and click the connect button. You should be presented with the following System Registration screen. Notice that the Effective Date field on this registration is blank. Starting with APPX 5.0.0, all License Keys include an Effective Date. You must install an updated License Key before you will be able to run APPX 5.0.0. Note that in Release 5 and higher you can copy your registration to the clipboard, and APPX will detect it when you choose "Typical Import" from the "Import Menu" below. | |||||||
| > > | Seleccionar el archivo C:\Appx\AppxDesktopClient.exe para rodar Appx Desktop Client. Seleccione 'Local' tab y la localizacion del engine de APPX (el archivo appx.exe) y seleccione el boton connect. Uste va mirar una pantalla System Registration. Note que la fecha Effective Date el eso registro esta en blanco. Con APPX 5.0.0, todas las llaves de la licencias incluyen un fecha efectiva. Usted necesita instalar y update sus llaved de licencias antes de rrodar APPX 5.0.0. Note que Release 5 y mas altas usted puede copiar su registro en el clipboard, y APPX va detectar cuando usted selecciona un "Typical Import" del "Import Menu" abajo. | |||||||
 | ||||||||
| Changed: | ||||||||
| < < | After installing a new 5.0.0 License Key, your System Registration screen should include an Effective Date. | |||||||
| > > | Despues de instalar la llave de la licencia en 5.0.0, su pantalla de System Registration debe tener un Effective Date. | |||||||
Configure the new APPX Login Manager | ||||||||
| Changed: | ||||||||
| < < | APPX 5 includes the new APPX Login Manager service. This service replaces the Connection Manager (AppxdSvc) which was included with APPX releases prior to APPX 5.0.0. The old Connection Manager will not work with APPX 5 and higher, and should not be used. You should remove the services installed by appxdsvc using the '-remove' keyword: | |||||||
| > > | APPX 5 incluye el nuevo servicio de APPX Login Manager. Esto servicio substituye Connection Manager (AppxdSvc) que fue incluyedo en las version anteriores de APPX 5.0.0. La version vieja del Connection Manager no va funcionar en APPX 5 o mas alto, y no debe ser usado. Usted necesita remover los servicios instalados en appxdsvc usando '-remove' keyword: | |||||||
| C:\Appx\tools>appxdsvc -remove -name=Appx8060 | ||||||||
| Changed: | ||||||||
| < < | To configure and start the new APPX Login Manager service, log in as an administrative user and execute a command similar to the following: | |||||||
| > > | Para configurar start en un nuevo servicio de APPX Login Manager, log como usuario administrador y ejecute un comando semejante a eso: | |||||||
|
C:\Appx>CD services C:\Appx\services>appxLoginMgr.exe -install -name=appx8060 -displayName=appx8060 -port=8060 -engine=C:\Appx\appx.exe | ||||||||
| Changed: | ||||||||
| < < | You should see the following messages: | |||||||
| > > | Usted debe tener esas menjages: | |||||||
|
appx8060 Created appx8060 Configured appx8060 Started appx8060 will start automatically each time you boot your system | ||||||||
| Changed: | ||||||||
| < < | After executing the above command, users should be able to use the APPX 5.0.0 Desktop Client to successfully login on port 8060. For additional information on managing APPX Login Services, please refer to the complete documentation. | |||||||
| > > | Despues de ejecutar el comando arriba, usuarios pueden usar APPX 5.0.0 Desktop Client con éxito en el porto 8060. Para informacion adicional el como gerenciar APPX Login Services, refiérase a complete documentation. | |||||||
Final Tasks | ||||||||
| Changed: | ||||||||
| < < |
| |||||||
| > > |
| |||||||
Comments:Read what other users have said about this page or add your own comments. | ||||||||
View topic | History: r3 < r2 < r1 | More topic actions...
Ideas, requests, problems regarding TWiki? Send feedback