Difference: APPX500WindowsNewInstallationEs (2 vs. 3)
Revision 32010-01-30 - RayPelegrino
| Line: 1 to 1 | ||||||||
|---|---|---|---|---|---|---|---|---|
APPX 5 - Windows - New Installation | ||||||||
| Line: 9 to 9 | ||||||||
| Hay dos metodos para instalar APPX en Windows. Hay un GUI installer y un Console Mode instalador (caracter mode). Los sitios van usar el GUI Instalador, y el caracter mode se va usar en los sitios Windows Core Server (Windows sin GUI). El mismo instalador es usado para los dos metodos. O instalador automaticamente va detectar si esta sendo usado como un GUI Desktop, y en algunos cass usted tendra que agregar "-c" a linea de comando para forzar el instalador de caracter. El resultado es lo mismo. Una instalacion tipica de APPX en un sistema donde APPX no fue instalado anteriormente tendra que seguir esos pasos: | ||||||||
| Changed: | ||||||||
| < < |
| |||||||
| > > |
| |||||||
GUI Installation on Windows | ||||||||
| Changed: | ||||||||
| < < | Log in to your system as an administrative user. | |||||||
| > > | Logar en su sistema como un usuario administrativo. | |||||||
| Changed: | ||||||||
| < < | Download and run the APPX GUI installer (setup.exe) from the APPX web site or the APPX ftp server. | |||||||
| > > | Bajar y rodar APPX GUI installer (setup.exe) del sitio web de APPX o de APPX ftp server. | |||||||
| Changed: | ||||||||
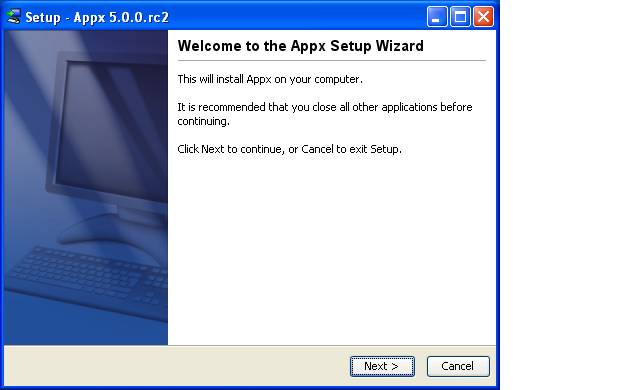
| < < | After a few moments, the APPX Setup Wizard should display the Welcome screen. Click on the "Next" button to continue. If you are presented with a Security Warning dialog, click on the "Run" button to continue with the installation. | |||||||
| > > | Despues de uno momentos, el Wizard de APPX va mostrar una pantalla Welcome screen. Seleccione el boton "Next" para continuar. Si usted mira a un Security Warning, seleccione el boton "Run" para continuar la instalacion. | |||||||
 | ||||||||
| Changed: | ||||||||
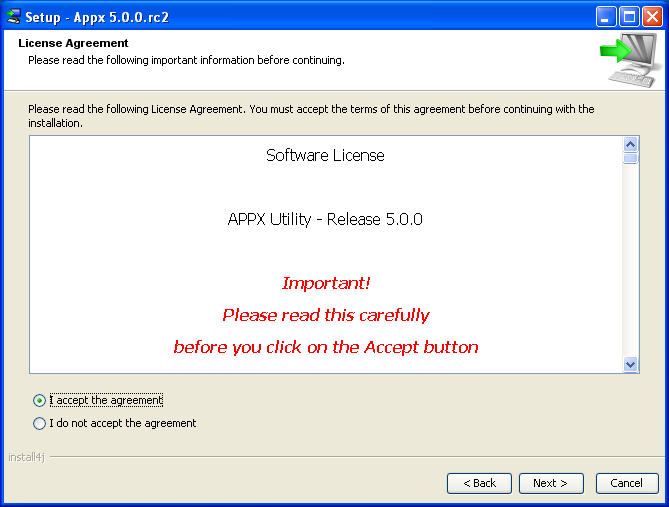
| < < | Read and accept the license agreement. | |||||||
| > > | Lea y acepte el acuerdo. | |||||||
 | ||||||||
| Line: 36 to 36 | ||||||||
 | ||||||||
| Changed: | ||||||||
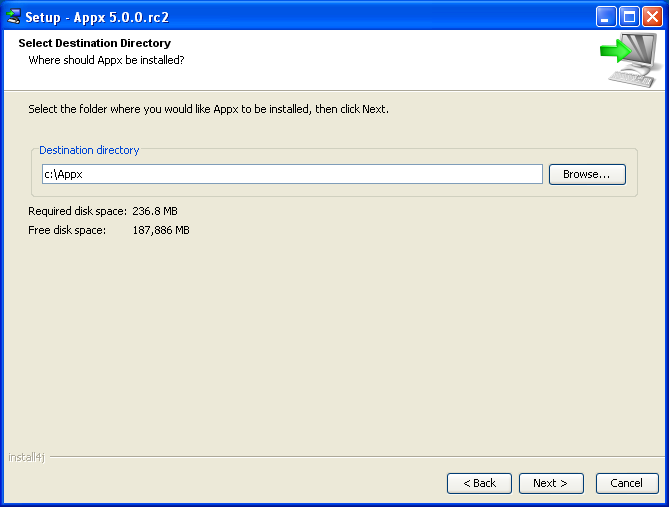
| < < | You will be warned if the destination directory already exists. Otherwise, the APPX Setup Wizard will create it. | |||||||
| > > | Usted va ser advirtido si el destino en el directorio ya existe. Si no, el Wizard de APPX Setup va crear uno. | |||||||
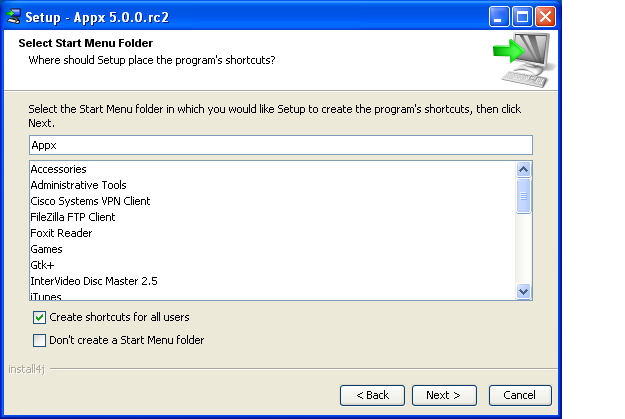
| Changed: | ||||||||
| < < | The APPX Setup Wizard can optionally create a Start Menu. You must specify the appropriate options. If you don't know what to specify on this screen, simply accept the recommended options by clicking on the "Next" button to proceed with the installation. | |||||||
| > > | El Wizard de APPX Setup puede opcionalmente crear un Start Menu. Usted necesita espeficicar las opciones apropriadas. Si usted no sabe lo que especificar en la pantalla, simplemente acepte las opciones recomendadas seleccionando el boton "Next" para proceder con la instalacion. | |||||||
 | ||||||||
| Changed: | ||||||||
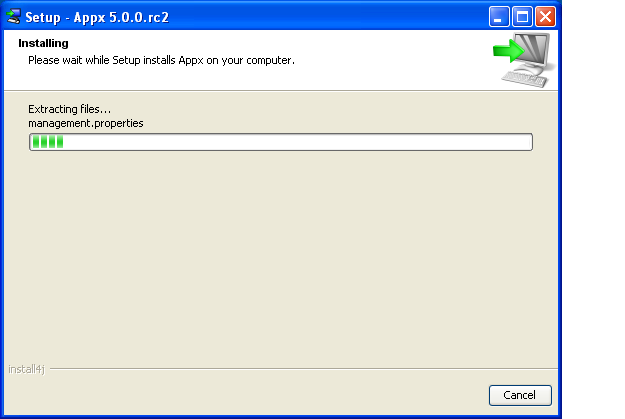
| < < | APPX will then be installed into the specified destination directory. | |||||||
| > > | APPX va ser instalado en el directorio especificado. | |||||||
 | ||||||||
| Changed: | ||||||||
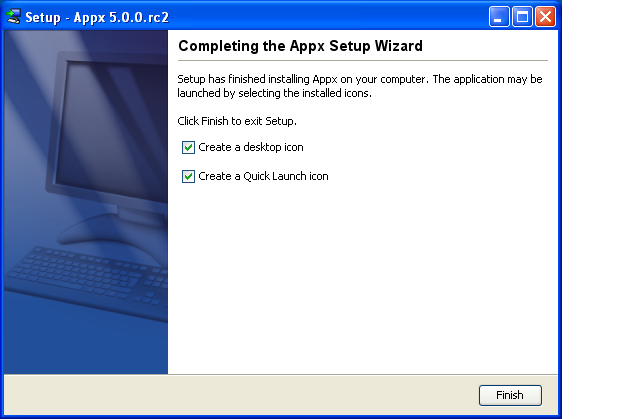
| < < | Finally, you may specify whether or not you want the APPX Setup Wizard to create a shortcut on your desktop and/or a quick launch icon on the taskbar. After specifying the appropriate options, click on the "Finish" button to end the APPX Setup Wizard. | |||||||
| > > | Finalmente, usted puede especificar su usted desea o no que el Wizard cree un atajo en su desktop y/o un icone en la barra de herramientas. Despues de especificar las opciones apropriadas, seleccione el boton "Finish" para terminar el APPX Setup Wizard. | |||||||
 | ||||||||
| Changed: | ||||||||
| < < | When you click on the Finish button, an APPX session will be launched to run APPX to complete the installation of the APPX environment. | |||||||
| > > | Cuando usted selecciona el boton Finish, una seccion de APPX para run APPX to complete the installation del ambeinte de APPX. | |||||||
Character Mode Installation | ||||||||
| Changed: | ||||||||
| < < | If you are running Windows Core Server, you can run the Appx installer in character mode by appending "-c" to the command line. After a few moments, the Appx Setup Wizard should display the Welcome message. Press Enter to continue the installation. | |||||||
| > > | Si usted esta trabajando en un Windows Core Server, usted puede rodar el instalador de Appx en modo character agregando "-c" en la linea de comando. Despues de unos momentos, el Appx Setup Wizard va mostrar una pantalla Welcome message. Seleccione Enter para continuar con la instalacion. | |||||||
| Changed: | ||||||||
| < < | C:\Appx>setup.exe -c Unpacking JRE ... Preparing JRE ... Starting Installer ... This will install Appx on your computer. OK [o, Enter], Cancel [c] | |||||||
| > > | C:\Appx>setup.exe -c
Unpacking JRE ... Preparing JRE ... Starting Installer ... This will install Appx on your computer. OK [o, Enter], Cancel [c] | |||||||
|
| ||||||||
| Changed: | ||||||||
| < < | Next, read and accept the License agreement. Press Enter as each page is displayed. | |||||||
| > > | Despues, lea y acepte el contracto de licencia. Seleccione Enter para cada pagina exhibida. | |||||||
| Please read the following License Agreement. You must accept the terms of this agreement before continuing with the installation. | ||||||||
| Line: 79 to 80 | ||||||||
| [Enter] | ||||||||
| Changed: | ||||||||
| < < | After the agreement has been displayed, enter 1 to accept the license agreement, or 2 to cancel the installation. | |||||||
| > > | Despues que el acuerdo seja exhibido, seleccione 1 para aceptar el contracto de licencia, o 2 para cancelar la instalacion. | |||||||
|
. . . For inquires regarding this agreement, please contact: APPX Software, Inc., 11363 San Jose Blvd., Suite 301, Jacksonville, Florida 32223, USA | ||||||||
| Line: 89 to 90 | ||||||||
|
| ||||||||
| Changed: | ||||||||
| < < | Choose the directory where APPX should be installed and the other installation options. | |||||||
| > > | Seleccione el directorio de APPX donde usted va instalar y las otras opciones de instalacion. | |||||||
| Where should Appx be installed? | ||||||||
| Line: 111 to 112 | ||||||||
|
| ||||||||
| Changed: | ||||||||
| < < | After all the files have been installed, you will have to run an APPX session to complete the installation of the APPX environment. | |||||||
| > > | Despues que todos los archivos sean instalados, usted va tener que rodar una session de APPX para complete the installation del ambiente de APPX. | |||||||
| Changed: | ||||||||
| < < | If you are running in character mode (i.e., Windows Core Server), you will have to manually start the APPX Login Manager Service before you can complete the installation. Enter the following command (make sure you adjust the path names as required): | |||||||
| > > | Si usted esta rodando en caracter mode (i.e., Windows Core Server), usted tendra que rodar manualmete APPX Login Manager Service para completar la instalacion. Entre el comando (hay que ajustar el camino como requerido): | |||||||
|
C:\appx>cd services C:\appx\services>appxLoginMgr.exe -install -name=Appx8060 -port=8060 -engine=c:\appx\appx.exe APPXPATH=c:\appx\data APPXKEYMAP=Windows | ||||||||
| Line: 123 to 124 | ||||||||
| C:\appx50\services> | ||||||||
| Changed: | ||||||||
| < < | This will start a Login Manager service on port 8060. Install the APPX Desktop Client on another workstation, and use the Remote tab to log on to this server, then complete the installation by following the instructions here | |||||||
| > > | Eso va instalar el servicio Login Manager en el porto 8060. Instalar el APPX Desktop Client en otro desktop y usar el Remote tab para logar en el servidor, y completar la instalacion seguindo las instrucciones here | |||||||
| Changed: | ||||||||
| < < | Note that as part of completeing the installation, you will be asked to install the Login Manager again. You can use the same port number again, it will not affect the installation process. | |||||||
| > > | Note que como parte de completar la instalacion, usted va tener que instalar el Login Manager otra vez. Usted puede usar el mismo numero de porto, no va afectar el proceso de instalacion. | |||||||
Comments:Read what other users have said about this page or add your own comments. | ||||||||
View topic | History: r4 < r3 < r2 < r1 | More topic actions...
Ideas, requests, problems regarding TWiki? Send feedback